
When your wish list includes things like a car with more than two doors, being able to pay for a second baby in a few months, and eventually being able to afford a down payment on a house, you tend to find lots of creative ways to cut your budget. This month, I decided that before I spent $30 on an Easter dress for my toddler (because Easter dresses are obviously a need, but not one that I want to spend $30 on this year) I would finally try to turn one of my husband's old dress shirts that I rescued from the DI bag (DI is the Utah version of Goodwill) into a dress. I'd pinned about a thousand tutorials for it, but I narrowed it down to the one that seemed most comprehensive (see below). I went to the fabric store to pick up a little fabric for the waistband and some 1/4" elastic and spent about $5 on the stuff for what I hoped would be two dresses, plus extra for a coordinating doll for her Easter basket, because I'm ridiculous like that.

For this project you will need:
- 1 men's dress shirt
- 1 package 1/4" elastic
- Some coordinating fabric for the waistband, if desired (I needed two squares that were 5" by 19" for this 2T sized dress)
- Sewing machine
- Thread
- Peasant dress pattern (see below)
- Safety pin for threading elastic


See the sleeves cutting into her arms and the front of the dress puckering? Not cozy.
I didn't want to spend time making a second non-fitting dress, so I did a search for a peasant dress pattern and found this free pattern with accompanying tutorial, which looked similar to what I had been trying to make, but like the person who made it actually knew something about fitting a dress to a little girl (unlike me). I used the 2T/3T version of the pattern to cut out the back of the dress, then laid it out on the front so I wouldn't have to figure out how to make sure the buttoned up front would be even (since this pattern wasn't actually made to go with a dress shirt.) Not only did this version fit, but it was a million times easier to sew up the neck, which had been miserable in my first attempt. (I was yelling, "HOW DO YOU IRON DOWN A CIRCLE??" for most of the first attempt, then just gave up and went for it in a bunchy mess.) This one used all straight lines for the neckline (which is genius, since it all curves when you stick the elastic in anyway), and so was really easy to iron down and sew up a casing for the elastic. (In case you're wondering, I had never in my life sewn a casing for elastic. Now I have done 5 for this dress, so I'm feeling confident.)
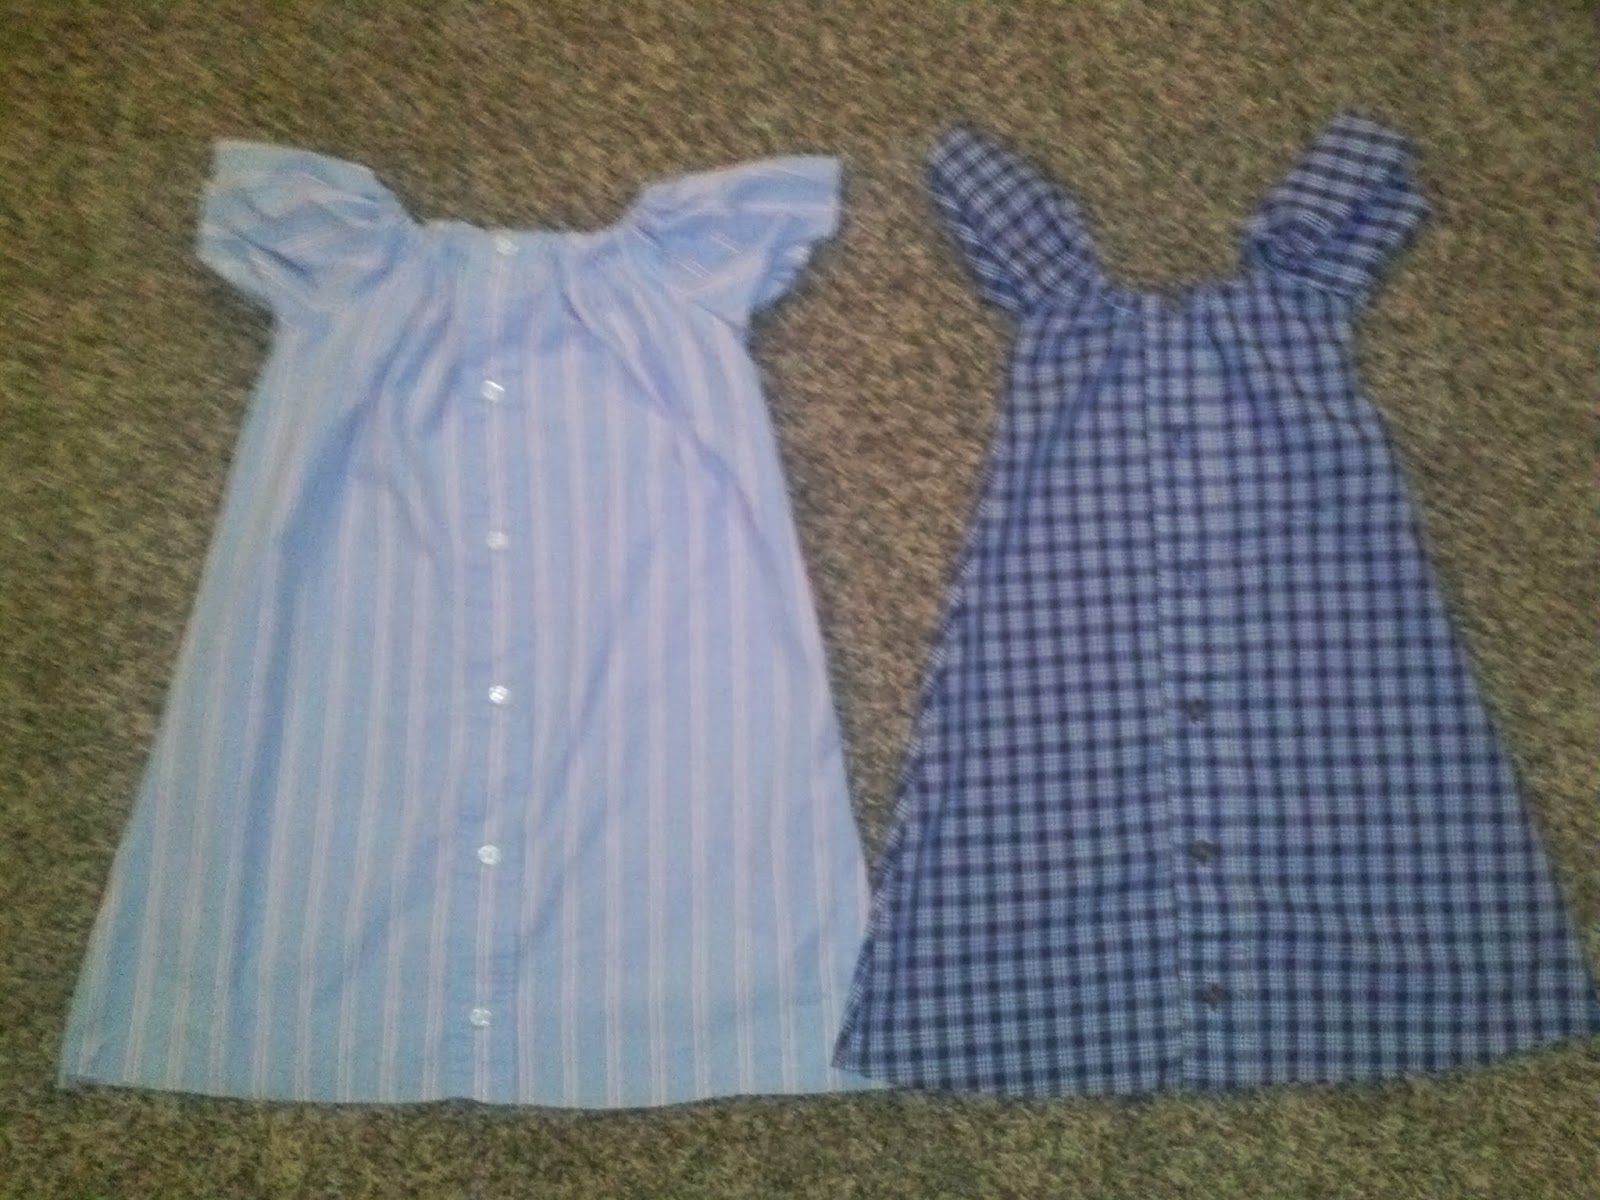
Note the difference between the two dresses, particularly in the armpit area.

The second dress was so comfy it inspired lots of dancing.

This is my model at her least cooperative.
When the dress was hemmed and had elastic in the neck and sleeves, I was tempted to stop. But the dress had been a little more flowy than I wanted it to be when I tried it on CB pre-hemming, so I decided to go back to the first tutorial and make the waistband. I was a little afraid of it, but taking it one step at a time I found it was mostly straight lines. The biggest hiccup was realizing that I had started sewing the front of the dress to the back of the dress while I was sewing the waistband to the dress (it wouldn't be a Megan project if I didn't spend about half of my time with a seam ripper in my hand) and having to unpick a couple of inches. I placed the waistband higher than the original tutorial did, because the dress had been SO flowy when I tried it on her that I was afraid that it would be a balloon above the waistband when I put it on her. This way it just has a really full skirt, which is excellent for dancing. I used one of her other dresses as a guide for placement, and I think it looks pretty cute.

I haven't decided whether the boots are the right shoes for this, but I have some time before Easter.


She decided she needed to do butterfly fingers at me

Dance!
Next up: using the scraps to try to make that matching doll! Wish me luck!
No comments:
Post a Comment