Showing posts with label Creativity. Show all posts

Monday, May 19, 2014

Perfectly Imperfect

Growing up, I always felt like I'd been passed up on the talent department. One of my biggest pains and sorrows as a teen, was that as much as I wanted to preform and be on stage, I didn't have the voice to be a star. I couldn't paint. I couldn't do much of anything. So I just said that I wasn't creative, and that was that. 

Except that it wasn't, because as talent-less as I am, I still have always felt this need to create, and to be creative.

Recently I came across something beautiful written by artist Nicholas Wilton: 


“I always felt that someone, a long time ago, organized the affairs of the world into areas that made sense – categories of stuff that is perfectible, things that fit neatly in perfect bundles.  The world of business, for example, is this way – line items, spreadsheets , things that add up, that can be perfected. The legal system – not always perfect. but nonetheless a mind-numbing effort to actually write down all kinds of laws and instructions that cover all aspects of being human, a kind of umbrella code of conduct we should all  follow.
Perfection is crucial in building an aircraft, a bridge, or a high-speed train.  The code and mathematics residing just below the surface of the Internet is also this way.  Things are either perfectly right or they will not work.  So much of the world we work and live in is based upon being correct, being perfect.
But after this someone got through organizing everything just perfectly, he (or probably a she) was left with a bunch of stuff that didn’t fit anywhere – things in a shoe box that had to go somewhere. So in desperation this person threw up her arms and said “OK! Fine.  All the rest of this stuff that isn’t perfectible, that doesn’t seem to fit anywhere else, will just have to  be piled into this last, rather large, tattered box that we can sort of push behind the couch.  Maybe later we can come back and figure where it all is supposed to fit in.  Let’s label the box ART.
The problem was thankfully never fixed, and in time the box overflowed as more and more art piled up.  I think the dilemma exists because art, among all the other tidy categories, most closely resembles what it is like to be human. To be alive.  It is our nature to be imperfect. To have uncategorized feelings and emotions. To make or do things that don’t sometimes necessarily make sense.
Art is all just perfectly imperfect.
Once the word Art enters the description of what you’re up to, it is almost like getting a hall pass from perfection.  It thankfully releases us from any expectation of perfection. In relation to my own work not being perfect, I just always point to the tattered box behind the couch and mention the word Art, and people seem to understand and let you off the hook about being perfect and go back to their business.”

Creating art isn't about being the most talented, or most admired. It's an experience between you, and your art. Last year, I participated in a local art class. It was simple enough, They provided the paint, the canvas, and the instructor, who walked us through, step by step, as we all created the same piece of (admittedly poor to mediocre art). I was shocked at the sense of achievement I felt, the freeing sense of creating, even though it wasn't even that spectacular. I was amazed I was even able to follow instructions. It was peaceful, relaxing, and FUN. It was, as Wilton said, perfectly imperfect. 


Wednesday, April 23, 2014

How I Learned to Make Dolls (Plus an Unsolicited Plug for Wee Wonderfuls)

For my daughter's first Christmas, I really wanted to make her a doll. I'm not sure why this desire was so strong (although it was probably partly because we were kind of poor and partly because my friend Becky had just posted some doll hair tutorials and some really beautiful dolls that she'd made, and I wanted to be as cool as she is).

The problem was I couldn't really sew. All the tutorials you can find require some kind of knowledge of special stitches and junk like that, and I just couldn't quite figure out what they were talking about. I finally settled on a tutorial for a Black Apple doll for that first attempt. She was cute, but if you looked closely, she was barely holding together. The seams were shabby, the limbs were sewn on badly, I didn't know how to do a ladder stitch so I couldn't make the stitches invisible, etc. I made her a scarf to cover up the mistakes I made sewing her head on. Luckily, CB was only 5 months old and not very discerning.


Despite my only sort of successful attempt, I really enjoyed the process of turning unloved fabric scraps into something cute and lovable. I really wanted to learn to do it well, and I wanted to learn in time for the day when my daughter would have opinions about how they should look. A few months later, after reading lots of reviews and doing lots of searching around for something that I thought would be easy enough for my skill level without being boring,  I ordered Wee Wonderfuls: 24 Dolls to Sew and Love because it had some tutorials on how to do the actual stitches and had lots of different patterns so I could learn some different skills and hopefully start customizing a little someday.

Over the next few months I pulled out scraps here and there and put together a few toys that CB really loves.


 I had to make this bear by hand because I was afraid of trying to sew this fuzzy stuff in my sewing machine. He was made from the leftovers from the less-successful crib covers that I made for my daughter's crib so she wouldn't chew on it. (She still does, but she likes this bear, and the covers make it less evident that the crib looks like a beaver got to it.) He was much cuter when he was new than he is now. She chewed off his nose as well.


Kitty's face took a couple of attempts and her tiny dress was a struggle, but she is well-loved now, despite her terrible seams. I have re-attached her head and legs once, and the head is starting to look a bit loose again. 


These sleepover pals have crazy wide-set eyes, but they get hauled all over the place. CB gives them to her bigger dolls so they can have babies. 

So after I'd made a few of these projects, I really wanted something I could customize a bit more. I downloaded another pattern (again from Wee Wonderfuls because I'd had good luck with her patterns in the book and had been drooling over her amazing doll hair for more than a year) and made a doll to match CB's Easter dress using the scraps. 

A side note: sewing round things (like heads) is hard. Now that I've done three of these dolls it's a little less intimidating, but good heavens it was scary the first time. 


The tricky part about making a doll for a toddler is that they know before you even make it into an actual doll what the parts are going to be, and then they steal the doll before you are finished. I've given up on hiding this baby until Easter. 


Doing the doll hair is fast becoming my favorite part of this process. It's lots of painstaking pinning and stitching (which took some time to figure out, especially the first time around - eventually I kind of sewed out from the center like spokes of a wheel to do the back of the head) but I love the results and the process of making it come together.


I used this brief tutorial and many others I'd been reading on this website and others to get this hair style.  I was going for this look. 


Faces are still a work in progress for me. I didn't like how the ones on the pattern were turning out for me, so I did my own. I want to play with the look a little more, but my limited embroidery skills make trying out anything fancy on a finished doll when a mistake could ruin the whole thing pretty terrifying. 


After finishing CB's doll, I made these big sister/little sister dolls for a friend who has a 5 year old and is expecting another little girl. Keeping them away from CB was extra tricky. 

Little sister's hair came from this tutorial, big sister's from this picture, because by then I had kind of figured out how to make it work. My doll's hair turned out totally different because the yarn was a different texture, but I think I ultimately decided I like it. 


I never could decide whether or not these ladies needed noses, so in the end I left them off. 

CB is now in the throes of major stuffed animal love, and she ADORES these babies and animals, especially the latest one. She makes them dance and hauls them all over the house, and I love the feeling of knowing I made her something that she enjoys - especially because I made pretty much all of them out of leftover scraps from various projects my mom and I have worked on over the years. I like using little bits of old projects to make something new. 


Mostly though, I love that I can still learn new things. Three plus years out of college, sometimes it feels like I am stagnating, even though I know I'm learning a lot about taking care of children, and I still read and learn things every day. It's nice to feel like I can pick up a new skill just because I decide to do it, and I can create something that makes me and at least one tiny person happy, and I can make actual, visible progress at something. 

What new things are you learning to do? (And if you decide to learn to make dolls and want to talk about it, shoot me a comment or an email!) 

Wednesday, March 26, 2014

Toddler Dress From Daddy's Shirt

When your wish list includes things like a car with more than two doors, being able to pay for a second baby in a few months, and eventually being able to afford a down payment on a house, you tend to find lots of creative ways to cut your budget. This month, I decided that before I spent $30 on an Easter dress for my toddler (because Easter dresses are obviously a need, but not one that I want to spend $30 on this year) I would finally try to turn one of my husband's old dress shirts that I rescued from the DI bag (DI is the Utah version of Goodwill) into a dress. I'd pinned about a thousand tutorials for it, but I narrowed it down to the one that seemed most comprehensive (see below). I went to the fabric store to pick up a little fabric for the waistband and some 1/4" elastic and spent about $5 on the stuff for what I hoped would be two dresses, plus extra for a coordinating doll for her Easter basket, because I'm ridiculous like that. 


For this project you will need:

  • 1 men's dress shirt
  • 1 package 1/4" elastic
  • Some coordinating fabric for the waistband, if desired (I needed two squares that were 5" by 19" for this 2T sized dress)
  • Sewing machine
  • Thread
  • Peasant dress pattern (see below)
  • Safety pin for threading elastic


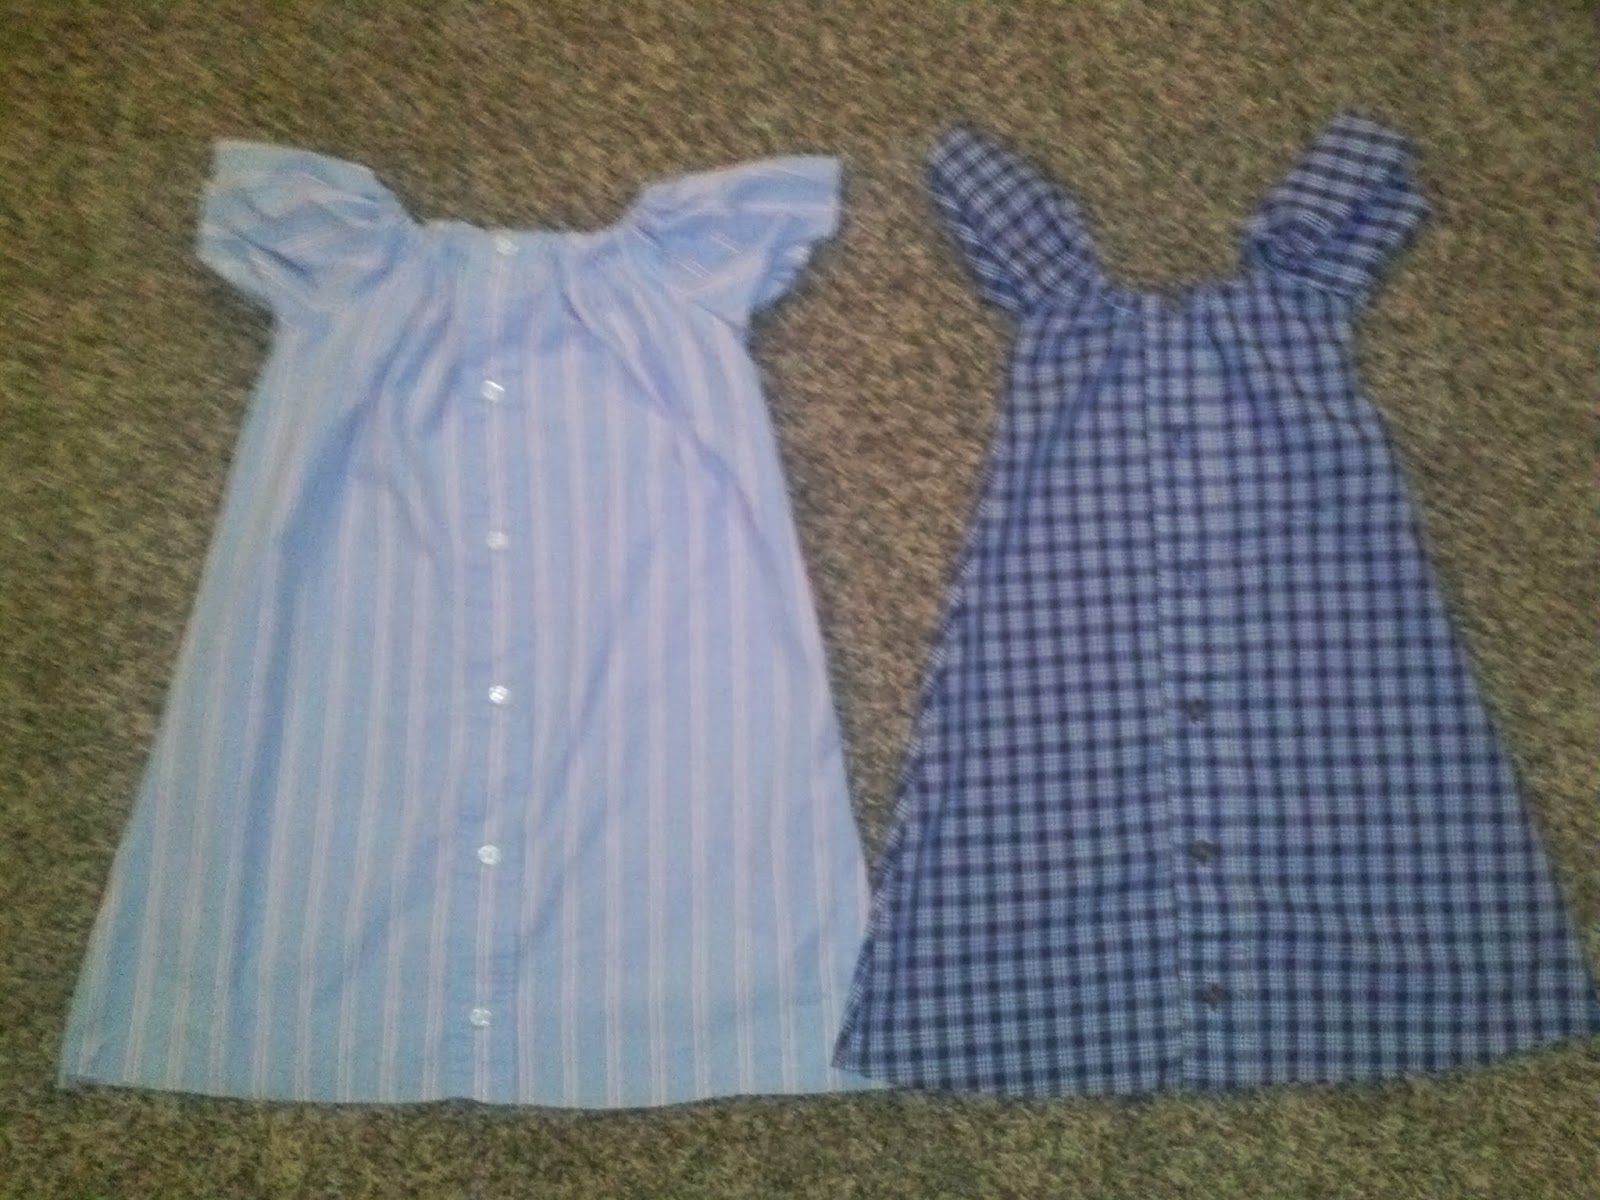
Here's what I learned in my first attempt using this tutorial: I do not understand enough about fitting a dress to whip up my own pattern as this talented lady suggests. Either I picked the wrong dress to use as a pattern or I cut too much off when I was trying to even it up or I haven't ever actually made a dress before and had no idea what a pattern should look like. (That last one, probably.) In any case, when I had put together enough of the dress to try it on my little one, it was so tight in the arms and chest that I couldn't actually get it back off her without cutting it off, and I didn't know enough about fitting things to know how to add in some fabric so it would fit. So. Dress #1, scrapped before I'd done more than unpick the pocket of the shirt, cut it out, sew up the neck and sew down the sides.

See the sleeves cutting into her arms and the front of the dress puckering? Not cozy.


I didn't want to spend time making a second non-fitting dress, so I did a search for a peasant dress pattern and found this free pattern with accompanying tutorial, which looked similar to what I had been trying to make, but like the person who made it actually knew something about fitting a dress to a little girl (unlike me).  I used the 2T/3T version of the pattern to cut out the back of the dress, then laid it out on the front so I wouldn't have to figure out how to make sure the buttoned up front would be even (since this pattern wasn't actually made to go with a dress shirt.) Not only did this version fit, but it was a million times easier to sew up the neck, which had been miserable in my first attempt. (I was yelling, "HOW DO YOU IRON DOWN A CIRCLE??" for most of the first attempt, then just gave up and went for it in a bunchy mess.) This one used all straight lines for the neckline (which is genius, since it all curves when you stick the elastic in anyway), and so was really easy to iron down and sew up a casing for the elastic. (In case you're wondering, I had never in my life sewn a casing for elastic. Now I have done 5 for this dress, so I'm feeling confident.)

Note the difference between the two dresses, particularly in the armpit area.

 The second dress was so comfy it inspired lots of dancing.

This is my model at her least cooperative.

When the dress was hemmed and had elastic in the neck and sleeves, I was tempted to stop. But the dress had been a little more flowy than I wanted it to be when I tried it on CB pre-hemming, so I decided to go back to the first tutorial and make the waistband. I was a little afraid of it, but taking it one step at a time I found it was mostly straight lines. The biggest hiccup was realizing that I had started sewing the front of the dress to the back of the dress while I was sewing the waistband to the dress (it wouldn't be a Megan project if I didn't spend about half of my time with a seam ripper in my hand) and having to unpick a couple of inches. I placed the waistband higher than the original tutorial did, because the dress had been SO flowy when I tried it on her that I was afraid that it would be a balloon above the waistband when I put it on her. This way it just has a really full skirt, which is excellent for dancing. I used one of her other dresses as a guide for placement, and I think it looks pretty cute.

I haven't decided whether the boots are the right shoes for this, but I have some time before Easter.


She decided she needed to do butterfly fingers at me

Dance!

Next up: using the scraps to try to make that matching doll! Wish me luck!

Tuesday, October 15, 2013

The Creative Process: PBS Off Book

I love this YouTube channel by PBS Off Book. Their videos are thought-provoking, interesting, and so well put together, particularly the one on creativity, below (though they have a wide range of fantastic videos up on the channel). 


What have some of your struggles been with creativity? What have some of your successes been? What was the process that got you there?